Friday 14 July 2017

Cruising...


My little nephew visited recently and had a play in the car.  He sat in the driver seat while Nana (my mum) sat in the passenger seat. He played with the horn, lights and indicators and even found the windscreen washer jets which shot both of them straight in the face! Priceless!

Once he'd finished wetting everyone, he posed as if he was cruising along! Cant wait to take him for a spin. 


Centre tunnel complete


Now the gearbox is in, I finished the centre tunnel. Exactly the same as the other pieces I've done, I covered it in green leather after drilling a large hole for the shifter to move around. Now its in place it finishes the cockpit off nicely.


Starter motor


Just a quick job for today between changing nappies and snuggles with my baby boy. I fitted the starter motor which was nice and easy. 3 bolts, torqued up and now it just needs power.


Only the cooling system, exhaust and ECU to purchase but lots of work to do for power, fuel and other bits. 

New arrival!!


Less than 24 hours after fitting the engine, I became the proud dad to Baby Oliver! 

Now to see if he will fit in the boot space!

The marriage


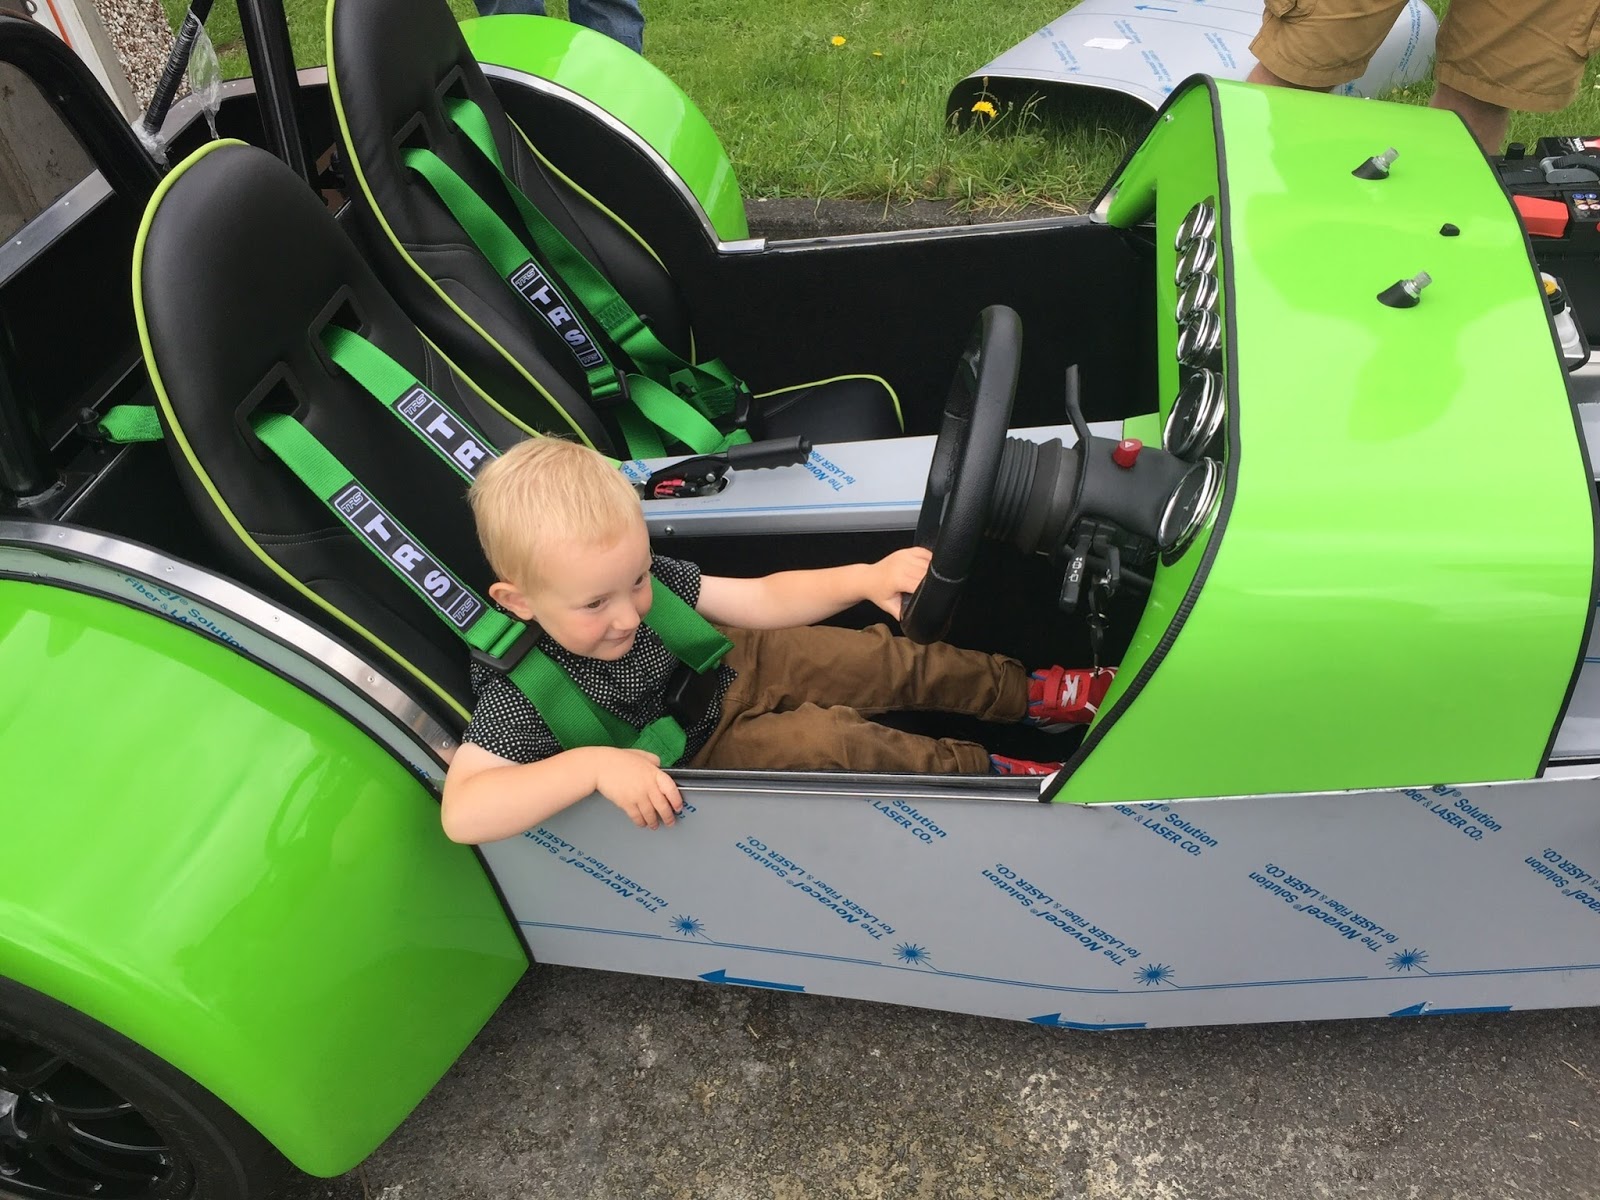
And finally the day came to mate the engine and gearbox to the car - a process called the marriage.

With all the prep work done and the engine mods done, it was hopefully going to be a straight forwards job of dropping it in and bolting it up. It actually took 5 hours but in the end it was in, fixed and ready for fuel and power.

I hired an engine crane for the weekend and after checking everything was ready, hoisted it into the air.  I then slid it towards the car and realised the arm wasn't extended enough!  So back to the start, extended the arm and then started the process again. 

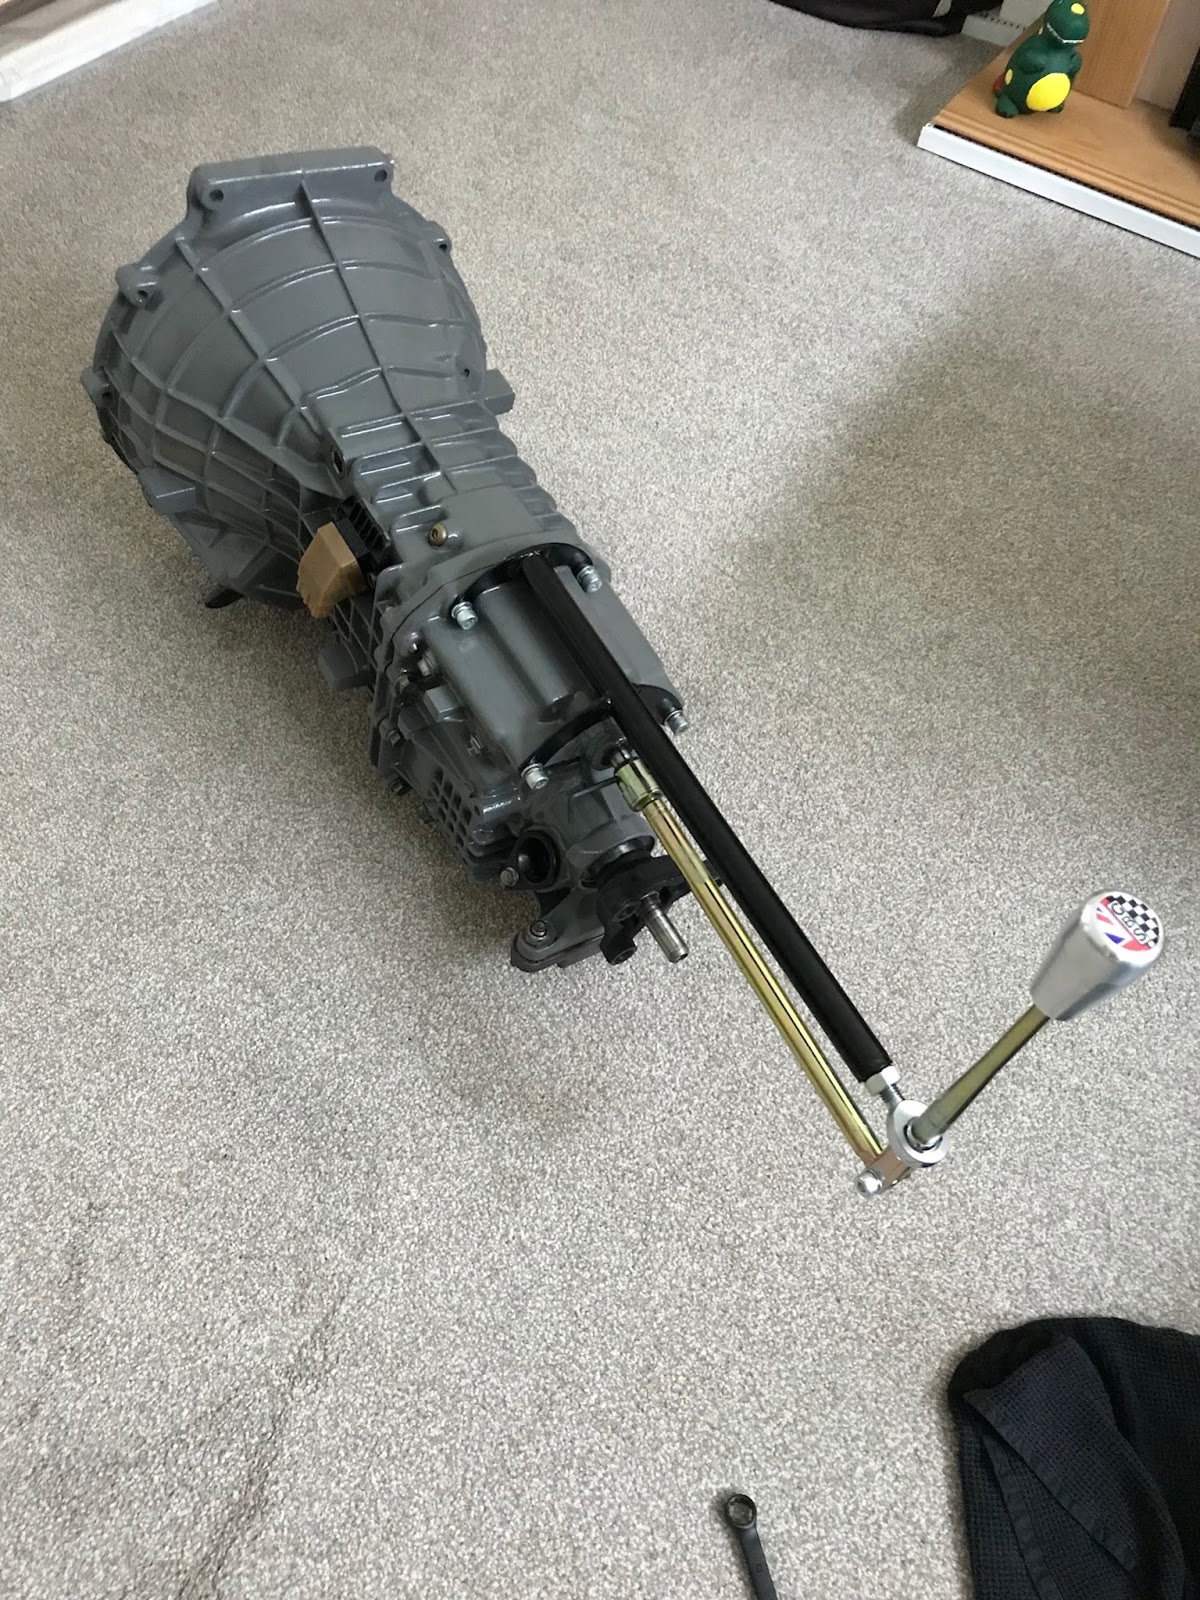
I used the tilt mechanism to lower the gearbox into the car and then started to lower the big lump into the little space. It took quite a bit of lining up and tweaking but finally was low enough to fit the mounting arms.  With these on, i connected the prop shaft, lined up the gearbox mount and bolted it down.


I kept the weight of the engine on the crane and sat it on the mounting plates in the car. I then ensured it was perfectly central and drilled the 8 holes for the mounting bolts.  I decided not to drill straight through the body panels and instead went for the more difficult option of attaching the nuts between the two sheets of metal. Difficult but doable.


Finally I torqued up the bolts ensured everything was tight and then removed the engine crane!  Nervous times but everything stayed where it was and I now have the engine and gearbox mounted!


Big thanks to Katie - my 9 months pregnant wife - who helped throughout the 5 hours it took. 

Gearbox / Engine mating


Before fitting I had to mate the MT75 gearbox to the engine. Before doing so there were lots of jobs to do....

First up was the spigot bearing. This is a tiny bearing that goes into the engine and takes the shaft from the gearbox. Forget it and the whole thing has to come out.

Next up was the clutch release bearing to be fitted to the clutch arm and in turn, into the gearbox. 

Finally, mate the two together.  5 bolts with two spacers and it was ready to fit to the car.


GEARBOX!!!


After 2 MONTHS of waiting, the gearbox is finally ready. I collected it from the factory and bought a few other bits while I was there. After getting it home there were plenty of jobs to do. First up was to offer it to the engine and cut off the bottom of the bell housing so it doesnt catch on any speed bumps or raised ironworks. Then filled it with oil.

Sadly I didn't take many pictures of the gearbox work, but was all straightforwards. 

Next I removed the taxi meter and replaced it with a genuine ford blanking plate.


I then dry fitted the quick shift gear shifter and checked I could select all gears.... I could.


Working indicators


After much fault finding, it turned out I had the wrong indicator relay which is why they weren't working.  The factory gave me the right one free of charge and with a quick swap over of parts all the indicators started working! The stalk is a bit dodgy so will look to strip it down and clean it or replace it but my wiring and connections are all good so Im happy.


Bonnet badge

As I'm soon to be a daddy, my little one "bought me"some bits for fathers day. He managed to splash out on a bonnet badge, engine wiring loom and a few other little bits. As the engine isn't in yet as I'm STILL waiting on the gearbox, all I could do was fit the bonnet badge.

Nice and straight forwards and another step closer to being finished.